Hexo Blog Setup#
type: article
status: published
date: 2024/10/10
slug: hexo
summary: Hexo is a fast, simple, and efficient blogging framework. Hexo uses http://daringfireball.net/projects/markdown/ (or other markup languages) to parse articles and can generate static web pages with beautiful themes in seconds.
tags: hexo, blog, website building, text
category: tutorial
What is Hexo?#
Hexo is a fast, simple, and efficient blogging framework. Hexo uses Markdown (or other markup languages) to parse articles and can generate static web pages with beautiful themes in seconds.
1. Software Preparation Before Setup#
Software needed before setup:
Git: Download from the official website: https://git-scm.com/
Git installation tutorial: https://www.cnblogs.com/xueweisuoyong/p/11914045.html
Node.js official download: http://nodejs.cn/
This article has a tutorial on modifying the node.js cache path: https://www.cnblogs.com/liuqiyun/p/8133904.html
If downloading is troublesome, you can download via cloud storage:
Download link for Xiaofei Cloud: (node-v20.18.0-x64, Git-2.46.2-64-bit)
Link: https://share.feijipan.com/s/voCrF8tW
Test if everything has been downloaded successfully
node -v
npm -v
git -v
2. Install Hexo.#
Download Hexo#
npm install hexo-cli -g
Generate Blog Content Locally#
- Create a new folder named Blog in your preferred location, then enter the folder.
- Right-click in the blank space and select Git bash here, then enter the following commands:
hexo init
hexo install
If prompted with ‘command not found’, prepend with npx, like: npx hexo init
Then enter the following commands:
hexo g
hexo s
The connection to GitHub may be unstable in China, so it’s best to use a VPN.
Setting Up a GitHub Repository#
- Register/Login to Github
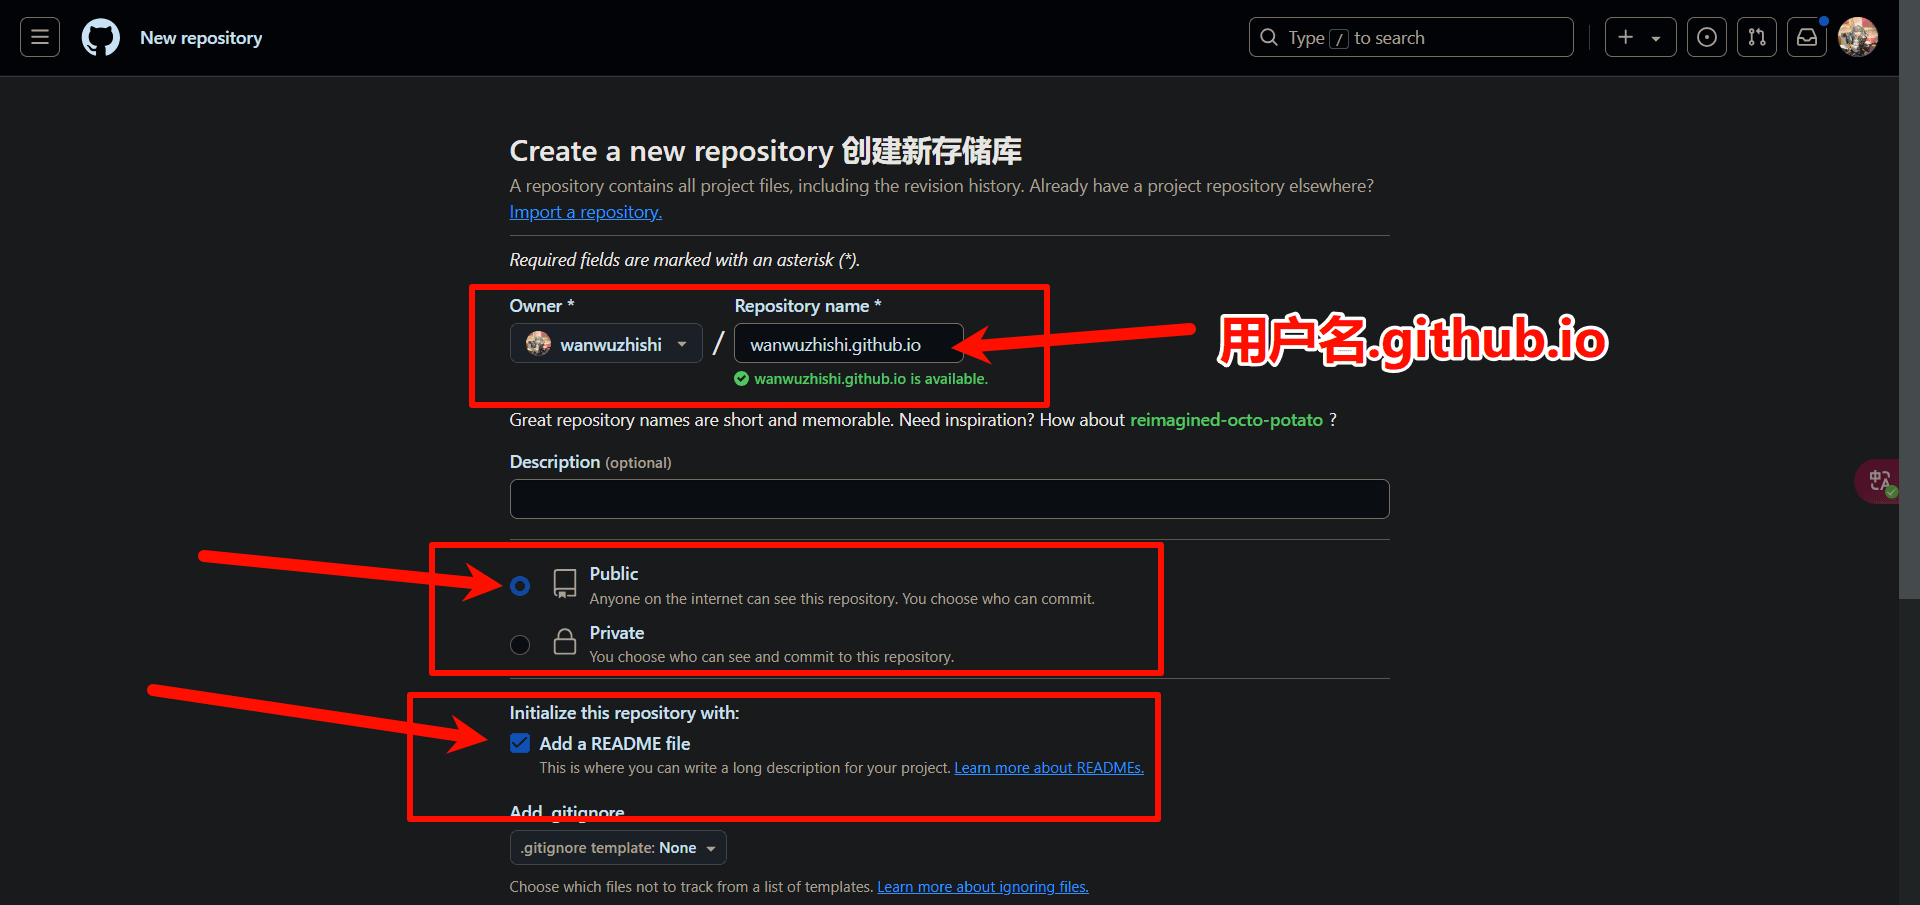
- Click Create a new repository to enter the new repository page.
- Enter the repository name:
username.github.io
Note: This must be your GitHub username.
Check Public
Check Add a README file
Scroll down and click create to create the repository.
Generate SSH Keys#
Enter any folder, right-click in the blank space and select Git bash here, then enter:
ssh-keygen -t rsa -C "email address"
Here, "email address" is the email you registered with GitHub.
- Press Enter four times.
- Go to C:\Users\username, and enter the .ssh folder.
- Open id_rsa.pub with Notepad, select all and copy the code inside.
- Then open github
- Go to user settings and find SSH keys.
- Create a new SSH key, name it as you like, and paste the code below.
- Click create.
Test if Successful#
In git bash, enter:
ssh -T git@github.com
Press Enter, then type yes.
Deploy Local Blog to GitHub#
- Go to the previous Blog folder, open _config.yml with Notepad.
- Scroll to the bottom, delete everything after deploy, and copy and paste this segment:
  type: git
  repository:
  branch: main
Pay attention to the indentation format: each line should have two spaces in front, do not delete them, and there should be a space after each colon as well.
- Go to the GitHub repository page you created earlier, click code, and copy the https link.
- Paste it after repository: in your Notepad.
- Then save and exit.
Back to the Blog folder, git bash#
Install the automatic deployment tool:
npm install hexo-deployer-git --save
Then right-click in the Blog folder to open git bash, and enter:
hexo g (generate)
hexo d (upload)
If this is your first time using git, you will need to configure it:
git config --global user.email "your email"
git config --global user.name "your name"
After configuring, upload again with hexo d.
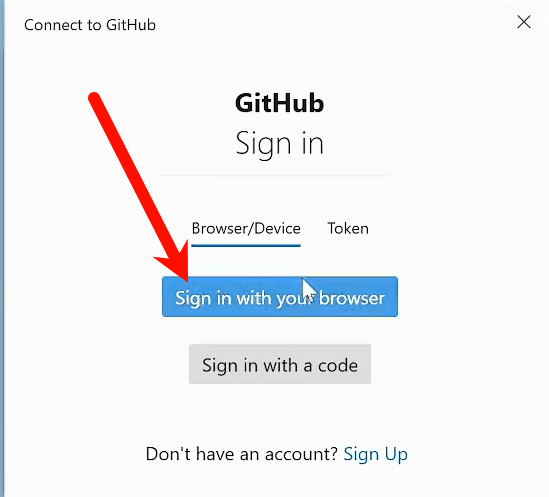
Log in in the pop-up window.
This successfully uploads the local content to GitHub.
Once the upload is successful, we have completed the setup! Let’s check your website.
The URL is the repository name we set earlier: username.github.io